So two features I haven’t been able to make work are tabs and fill. I tried fill and expected the machine to remove all material within the area defined and instead it only cut the line. Help?
I have no idea how tabs work at all.
So two features I haven’t been able to make work are tabs and fill. I tried fill and expected the machine to remove all material within the area defined and instead it only cut the line. Help?
I have no idea how tabs work at all.
I have had no luck.
Although I set tabs, Goliath didn’t leave them and when I tried fill, Goliath left areas uncut and then decided there was an obstruction, which there wasn’t. On restarting, instead of carrying on where it left off, it just plunged full depth.
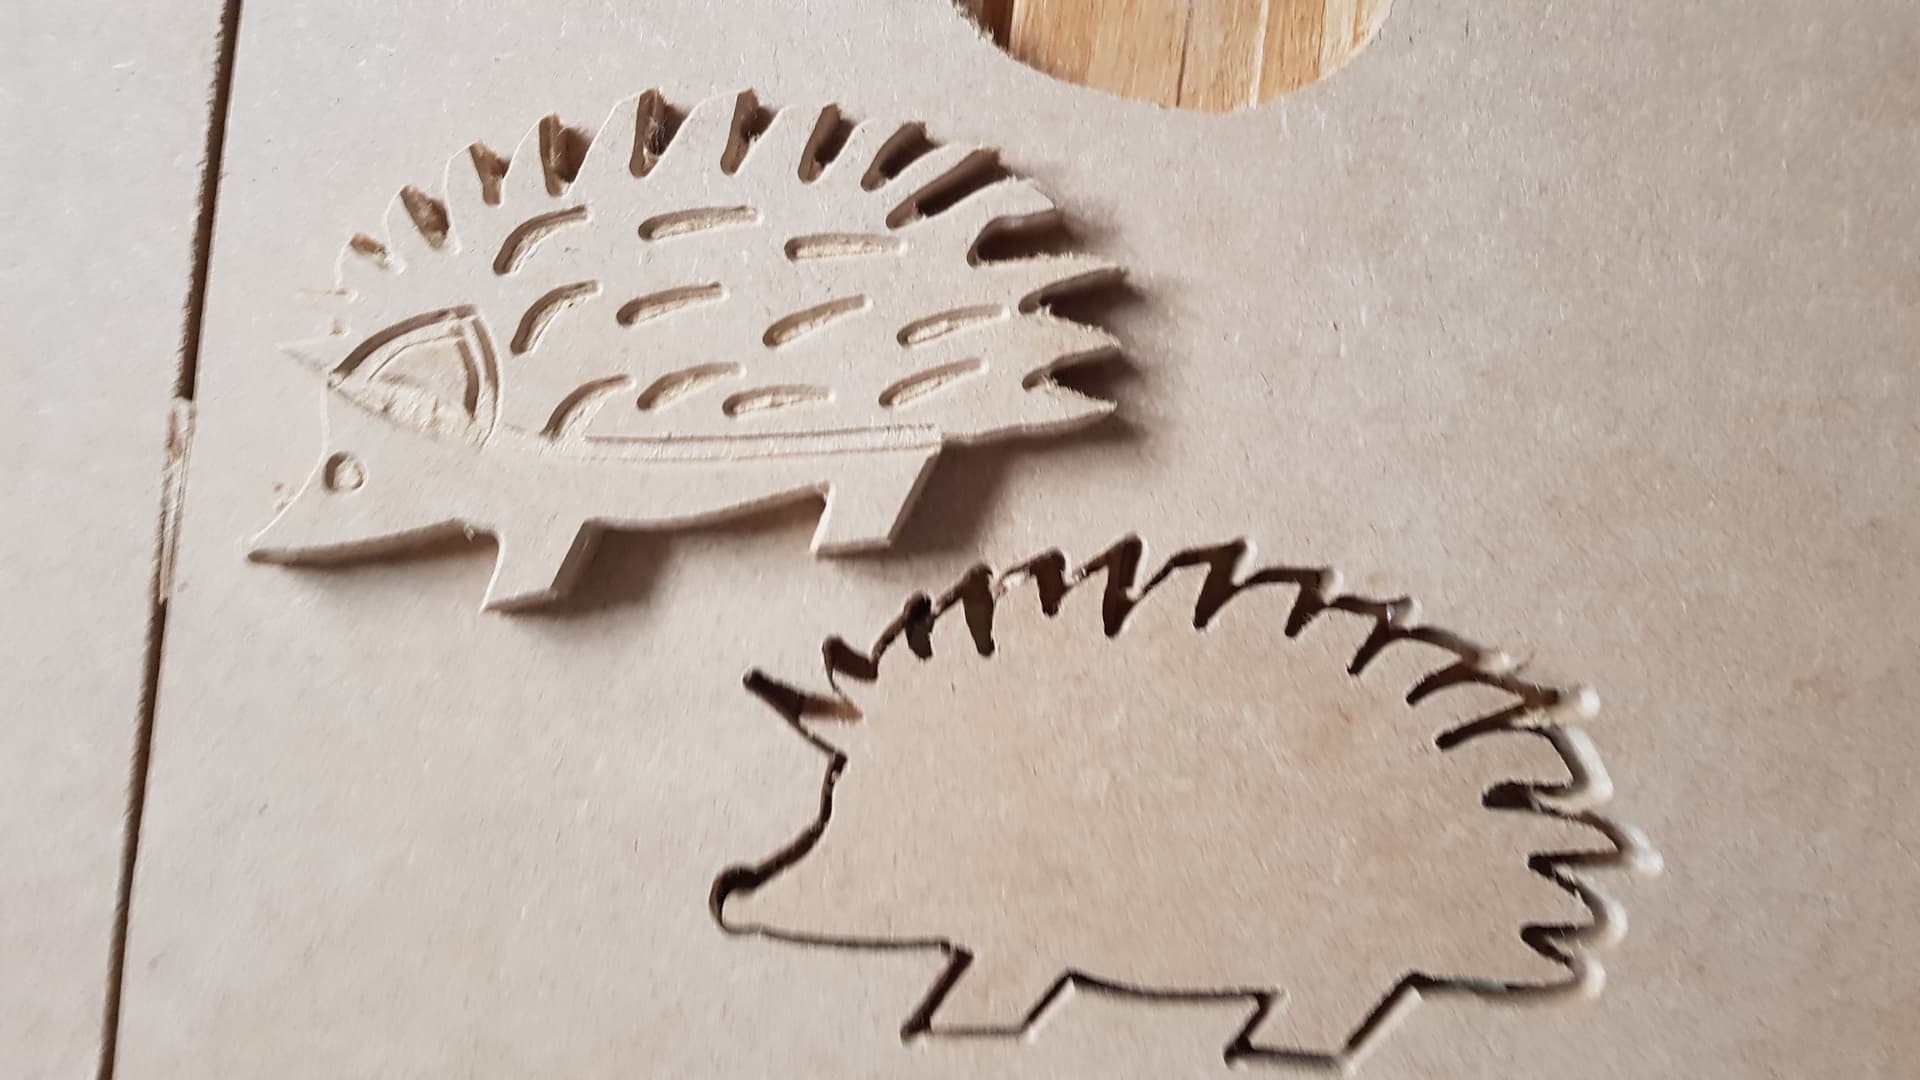
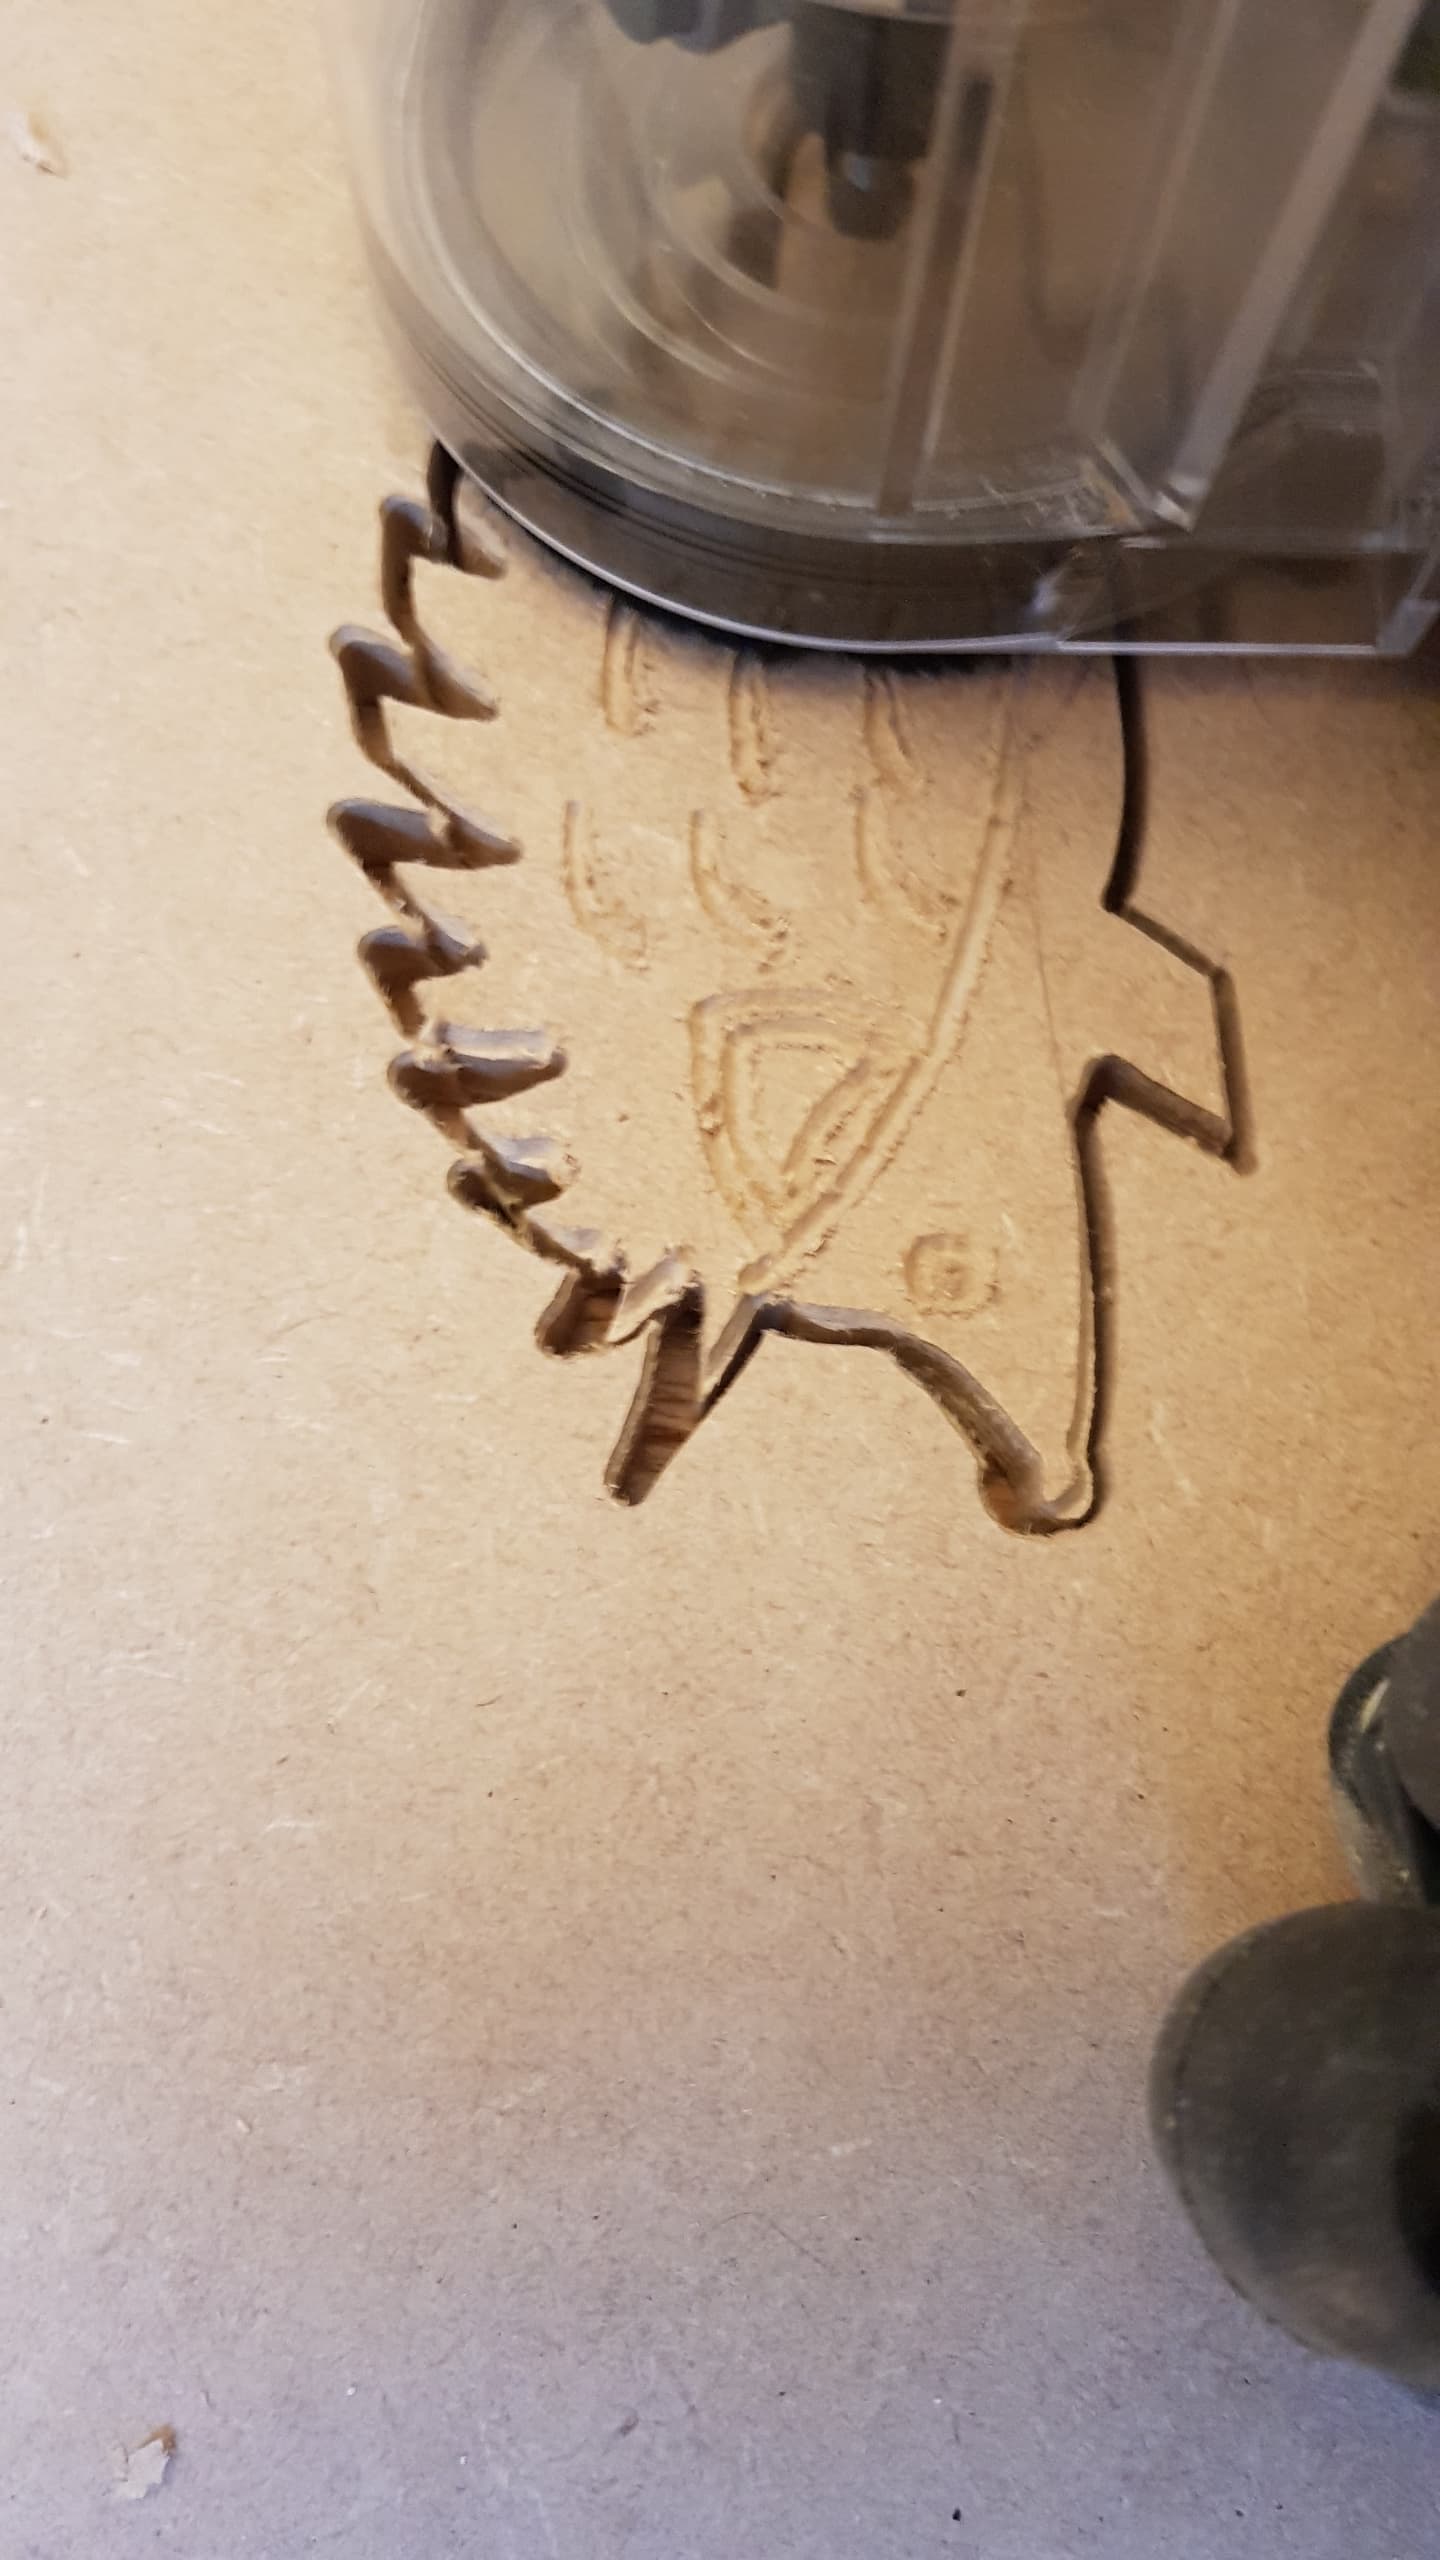
I think I was lucky as I could recut my hedge hog project ( posted in gallery).
As long as you do not move the wood or the art work on canvas the project could be restarted ( i have done it)
If the project stops in the middle due to errors and the middle led becomes red you can restart by pressing the pause button when the led becomes amber ( like if the motor got hot).
I have stopped the project as the path need a different bit- turned off goliath and restarted- ( you may get errors during pane detection but redo all) before the gcode calculation check the position of goliath on the canvas and move only in manual mode and notice if the goliath on right track-(move goliath to a place where the zaxis is not compromised, now send g code ) the machine will start cutting on the same path which has cut parially.
Make sure there is a flat surface at the zaxis caliberation otherwise the bit could be stuck in the wood.
If you lift the machine up in the air there is always a risk of damaging the pogo pins (the magnet locks and the cage close sensor plate can damage the pins- I received an upgrade plate which is slightly higher and curved to prevent pin damage)
Tabs function activate only if the cut deepth is equal or more than thickness of wood.
You can remove the tabs if not required by sellecting the track first.
I had peculiar behaviour with tabs in the older version not tried recently.
Firmware upgrade and sling shot upgrade are essential.
Check your log files to see what is happening and you see your version as well. (C:\Springa\Slingshot\log)
Thank you, let me try that. I don’t think I had altered the depth of material from the default 20mm.
I had checked all settings and they were correct. Goliath did not leave the tabs, I have no idea why.
Accuracy was also way off.
I can’t workout how to access the buttons the top of Goliath when it is under a spinner.
I’d say one of the main problems, apart from accuracy, is Goliath constantly stopping because it thinks there is an obstruction when there isn’t. Most of the time, it won’t restart after pressing the button.
Check the message from chab regarding obstacles in the path error. He received a pm from support, I think the positioning of sensors may be an issue.
I manually set the work area and my towers are fixed permanently (i connect usb charger while woking as the battery died once).
Thanks for the tip. I’ll definitely look it up.
Keeping the towers plugged in is a great idea, I never would have thought of that.
I access the button when it’s under the spinner with the supplied wrench-which is not a good solution, but a solution. I would LOVE it if pushing the tower sensor buttons while the Goliath is running had the same effect as pushing the top button.
Good tip. Thanks. …
Hello everyone,
I would like to give you some insights into how Fill and Tabs work.
Fill first.
As you all already know the peculiar thing about Goliath is that it moves on the surface that is cutting.
This can happen thanks to its omnidirectional wheels it can go on cut contours without losing grip. In this way, as long as it’s cutting contours, Goliath can move freely and place its wheels everywhere. Differently, when you have to cut pockets (engrave the area inside a contour/path), Goliath should be aware of the already cut/engraved areas in order not to let any wheel fall into it, otherwise, the mill bit would no longer be perpendicular to the surface of the panel. Which would result in an uneven cut.
For this reasons Slingshot, which actually does all work planning for Goliath, organizes the work into two phases: In the first phase, all the contours/outlines are cut, and in the second phase all the fill/pockets.
In the second phase, Slingshot calculates the order of execution of Fill operations and the orientation of Goliath so that no wheel falls into an already engraved area. So when you have to do a Fill operation you have to take into account that this will constrain the movement of Goliath in a certain way.
In order to have better execution of Fill operations Slingshot separates each of them into two different operations, the contour that will be executed all in the first phase and the engraving of the inside area, executed in the second phase.
Therefore if the work gets interrupted in the first phase you will see only the contour of the Fill.
If you want to see how pockets are executed you can check this video of one old prototype.
When you want to do a Fill operation Slingshot might ask you to add some panel extensions and, if you don’t want to, you can always try to place the track in a different position of the canvas.
In Slingshot Fill operation can’t be set as the same depth as the thickness of the panel, if you do so Slingshot will ask you to change it to Inside operation. This is a matter of efficiency and quality. If the result we need to achieve is to a cut big hole into a panel, the best way to do it is to cut the contour at full depth instead of engraving the whole area at full depth. Doing it this way takes much less time, it will keep the bit more sharpen and allow Goliath to move freely.
Here comes the use of Tabs.
If you set a contour operation (Inside, Center, Outside) at full depth Slingshot will ask you to place Tabs on these tracks. Placing tabs on tracks that will be cut at full depth is crucial. This will keep them still with the rest of the panel and permit that Goliath can move on already cut pieces. If you will not be placed, the piece will move when Goliath goes on it with a wheel and this will cause an error in the cut.
To place Tabs you have to click on the button on the right of the import button.
To ensure that the tabs will be executed correctly during the cut you should be aware that Goliath might cut a little deeper than what you have set. So my suggestion is to do a test cut and measure how much is the difference between the cut depth cut and target depth, and the next time take this delta into consideration when setting the panel thickness and depth cut of each track. In the future Slingshot versions, we will add a more improved Z-axis calibration so you will not have to worry about it anymore.
One last thing As Bhimarasetty already suggested, when the work gets interrupted and can’t go on if leave the tower sensors where you fixed them you can continue the work by following these steps:
Hope you find this useful
I have no success with tabs. Slingshot often needed several clicks for the tab to be placed and then Goliath cut straight through them.
I’m going to include the sample cut with my Goliath when it is returned so you can see for yourselves.
What I can’t understand is that when I did a test pocket and lines, the depth was pretty accurate, but it cut through the tabs.
I’ve just tried the latest version of Slingshot (1.08.00). Tab placement seems much better and it’s much easier to see the tabs now they are yellow.
Hello guys, important changes have been made to the tabs function since December and in particular with the newest Slingshot release, which is why if you haven’t downloaded the latest software version yet, you should do so now!
Please find below a list of the main features: